Concrete Repair & Rehabilitation: Methods, Materials and When to Use Them
How to tell carbonation from chloride attack, when to switch from repair mortar to micro-concrete, and the five surface-preparation steps.
Key takeaways
- Diagnose before you repair: confirm whether carbonation, chloride attack or structural movement is the root cause, because patching a symptom without addressing the mechanism guarantees early failure.
- Match the material to the job: polymer-modified repair mortars for patching and reprofiling, flowable micro-concrete for large or congested sections, and corrosion inhibitors plus protective coatings to stop the steel rusting again.
- Surface preparation decides durability: break out to sound concrete, cut behind the bars, clean steel to bright metal, square the edges and bring the substrate to saturated-surface-dry.
- A detailed method statement protects the quiet steps, mixing, layer thickness, hot-weather and monsoon precautions, and especially curing, that are skipped under pressure and cause most failures.
- Specified and applied correctly, a concrete repair using Fosroc, MC-Bauchemie, Sika or Master Builders Solutions systems can restore service life that meets or exceeds the original structure.
The short version
Concrete is durable, but it is not immortal. Across India’s coastal belts, industrial zones and ageing urban housing stock, structures built decades ago are now showing the familiar symptoms: rust stains weeping down a soffit, cover concrete that has popped off to expose corroded steel, hairline maps of cracks spreading across a beam. Left alone, these defects do not stay cosmetic. They accelerate, compromising load capacity and eventually threatening the structure itself. The good news is that the science of concrete repair and rehabilitation is mature and well-codified, and the materials now available, from polymer-modified repair mortars to flowable micro-concretes and migrating corrosion inhibitors, can restore a structure to service life that often exceeds the original. The catch is that repair is unforgiving of guesswork. A patch applied without diagnosing the root cause, or without proper surface preparation, will debond and fail, sometimes within a single monsoon. This guide is written for architects, structural engineers, contractors and facility owners working in Indian conditions. It covers how to diagnose what is actually wrong, how to select the right repair system, how to prepare the substrate, and how a sound method statement holds the whole job together. Space Arc Engineering is an authorized distributor and applicator for the major construction-chemical brands behind these systems, and this guide reflects how those products are specified and used on real Indian sites.
Why concrete deteriorates: understanding the root cause first
Almost every concrete repair failure traces back to a single mistake: treating the symptom without identifying the mechanism. Concrete is highly alkaline, and that high pH forms a thin passive oxide layer around embedded reinforcement that shields the steel from corroding. Deterioration begins when something destroys that passive layer or attacks the concrete matrix directly.
The four mechanisms you will meet most often in India are carbonation, chloride attack, spalling and cracking, and they frequently occur together. Carbonation is the slow ingress of atmospheric carbon dioxide, which reacts with the alkalis in the concrete and lowers its pH until the steel is no longer protected; it is common in older inland buildings, parking structures and any concrete exposed to urban air. Chloride attack is the dominant threat in coastal and marine environments, and anywhere de-icing salts or contaminated aggregates were used; chlorides reach the steel and break down passivation locally, driving aggressive pitting corrosion. Both mechanisms end the same way: the steel rusts, rust occupies far more volume than the original metal, and that expansive pressure cracks and pushes off the concrete cover, which is the spalling you see. Cracking, meanwhile, can be either a cause or a consequence, structural cracks from overload or settlement, or non-structural cracks from shrinkage, thermal movement and plastic settlement that then become highways for water and chlorides.
Before any repair material is ordered, the mechanism must be confirmed. That is the difference between a repair that lasts a generation and one that fails before the scaffolding comes down.
Diagnosis: surveying and testing before you specify
A credible repair starts with a condition survey, not a tender. The aim is to map the extent of damage, confirm the deterioration mechanism, and establish how deep the problem goes, so you neither under-repair nor over-spend.
Begin with a visual and tactile survey. Walk the structure and record crack patterns, rust staining, spalled areas, delamination and any deflection. Delamination, where the cover concrete has separated but not yet fallen, is often invisible to the eye; a simple chain-drag or hammer-tap reveals it as a hollow, drummy sound. From there, targeted testing confirms the cause. A carbonation test using a phenolphthalein indicator sprayed on a freshly broken concrete face is quick and decisive: sound, alkaline concrete turns pink, while carbonated concrete stays colourless, and the depth of the colourless zone tells you how far carbonation has advanced relative to the cover. Where chlorides are suspected, dust samples drilled at increasing depths are tested for chloride content to build a profile. A cover meter establishes how much concrete protects the steel, half-cell potential mapping indicates where active corrosion is occurring, and rebound hammer or core testing gauges residual concrete strength.
- Visual and delamination survey: crack mapping, rust staining, chain-drag or hammer sounding for hollow areas
- Carbonation depth: phenolphthalein spray on a fresh fracture; compare colourless depth against cover
- Chloride profiling: drilled dust samples at staged depths to locate the chloride threshold
- Cover and corrosion mapping: cover meter plus half-cell potential survey
- Strength assessment: rebound hammer screening and cores where structural capacity is in question
Repair mortars: the everyday workhorse
For the majority of patch repairs, reprofiling spalled cover and rebuilding damaged sections, the material of choice is a polymer-modified, cementitious repair mortar. These are pre-bagged, fibre-reinforced, shrinkage-compensated mortars that you mix on site with water; the polymer modification gives them strong adhesion to the prepared substrate, low permeability and resistance to further carbonation and chloride ingress. They are typically applied by hand or trowel in controlled thicknesses, built up in layers for deeper repairs.
In the brands Space Arc distributes, this category is well represented: the Fosroc Renderoc range and the MC-Bauchemie repair-mortar systems are both staples on Indian repair sites, alongside equivalents from Sika and Master Builders Solutions. Within any of these ranges you will find a graded family: thin-layer mortars for shallow reprofiling, general-purpose mortars for typical cover repairs, and heavy-duty or structural-grade mortars where the patch must carry load. Choosing the right grade for the depth and exposure matters; a thin-section mortar packed too thick will crack, and a coarse structural mortar feathered too thin will debond. For overhead and vertical work, look specifically for the thixotropic, non-sag formulations that hold their shape against gravity without slumping, a routine requirement when repairing soffits and beam sides.
Micro-concrete: when the section is large or congested
Hand-applied mortars have a practical limit. When the repair volume is large, the section is heavily congested with reinforcement, or the geometry is hard to reach behind closely spaced bars, a flowable micro-concrete is the better answer. Micro-concrete is a pre-packaged, cementitious, shrinkage-compensated material that contains graded aggregate and is mixed to a self-compacting, pourable consistency. It is placed into formwork around the prepared area and flows under its own weight to fill the section completely, encasing reinforcement without the voids that hand-packing can leave.
Typical applications include rebuilding badly damaged columns and beams, jacketing for strengthening, and repairs where the required thickness exceeds what a trowel-applied mortar can sensibly achieve. The Fosroc Renderoc micro-concrete grades and comparable products from MC-Bauchemie, Sika and Master Builders Solutions are specified exactly for these situations. Because micro-concrete is formwork-and-pour rather than trowel-and-patch, planning the shuttering, pour points and air-release path is part of the job; a well-detailed pour fills cleanly in one operation, whereas a poorly vented one traps air against the soffit of the repair. Where the repair doubles as a strengthening intervention, micro-concrete jacketing connects directly to the broader discipline of structural strengthening, and the two are often specified together.
Protecting the steel: corrosion inhibitors and bonding agents
Rebuilding the concrete cover restores the geometry, but if the steel is left untreated and the cause unaddressed, corrosion simply continues beneath the new patch, the notorious incipient anode or ring-anode effect, where repairing one area accelerates corrosion in the adjacent untouched concrete. Two families of products address this.
Corrosion inhibitors reduce the rate of steel corrosion. Some are applied directly to exposed, cleaned reinforcement as a cementitious or epoxy-based protective coating before the mortar goes on, forming a passivating barrier on the bar. Others are migrating corrosion inhibitors, surface-applied or admixed liquids whose active molecules diffuse through the concrete to reach the steel and slow corrosion even where the bar is not exposed, useful for treating sound-but-contaminated concrete that you do not want to break out. Bonding agents, typically styrene-butadiene rubber (SBR) latex or epoxy-based primers, are applied to the prepared substrate to secure a strong bond between old concrete and new repair material, which is critical on smooth or low-suction surfaces. Note that many modern polymer-modified mortars are formulated to bond to a properly prepared, saturated-surface-dry substrate without a separate bonding coat, so check the manufacturer’s data sheet before adding one; using a bonding agent where the system does not call for it can occasionally do more harm than good. These protective systems sit within the wider field of protective coatings and corrosion protection, which extends to anti-carbonation coatings applied over the finished repair to slow future ingress.
Surface preparation: the step that decides everything
If there is one rule in concrete repair, it is this: the repair is only as good as the preparation beneath it. More repairs fail from poor surface preparation than from any defect in the materials. The principle is simple, remove all unsound, contaminated and carbonated concrete, expose and clean the steel, and create a sound, roughened, contaminant-free surface for the new material to grip.
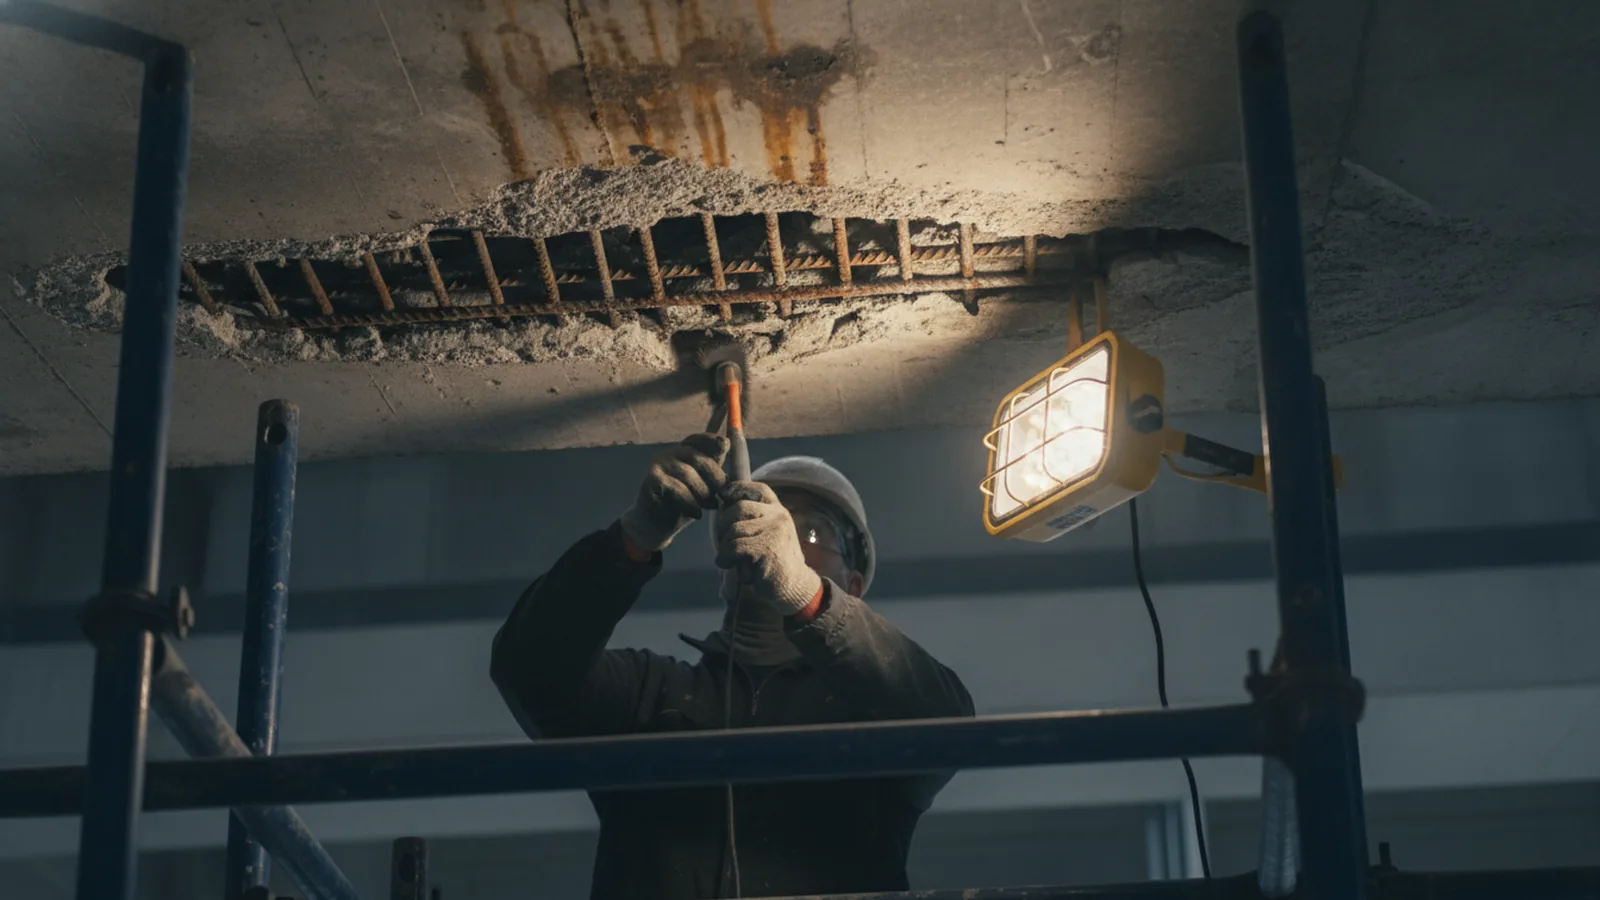
Break out concrete until you reach sound, alkaline material; do not stop at the visible spall edge, because the damage almost always extends beyond it. Critically, you must cut behind the reinforcement, leaving a clear gap around each corroded bar so the repair material can fully encase it; a bar repaired only on its front face will keep corroding from behind. Square up the edges of the repair area rather than feather-edging, because feathered edges are thin, weak and prone to debonding. Clean the exposed steel back to bright metal, removing all rust, mill scale and loose product, typically by grit blasting, needle gunning or wire brushing depending on access and the extent of corrosion. Finally, prepare the concrete surface itself to an open, roughened texture and, for cementitious systems, bring it to a saturated-surface-dry condition before application, damp enough that the substrate does not suck water out of the fresh mortar, but with no standing water on the surface.
- Break out to sound, uncarbonated concrete; assume damage extends past the visible spall
- Cut behind exposed bars so the repair fully encases the steel, no corroding back face
- Square the repair perimeter; never feather-edge thin
- Clean steel to bright metal by grit blasting, needle gun or wire brush; remove all rust and scale
- Roughen and dampen the substrate to saturated-surface-dry for cementitious repairs
Writing a sound method statement
A method statement turns a specification into a repeatable site procedure. For concrete repair it should leave nothing to on-the-spot improvisation, because the quiet steps, curing, mixing ratios, layer thickness, are exactly the ones that get skipped under deadline pressure and cause failures months later.
At minimum, a repair method statement should sequence the work and pin down the controllable variables. State the materials by name and grade with their data sheets attached, define the break-out and preparation standard, specify steel cleaning and any primer or inhibitor, give the mixing procedure including water ratio and mixing time, and set maximum layer thicknesses and the wait between layers. It must address ambient conditions: repair mortars placed in peak Indian summer heat can flash-set and crack, while monsoon humidity and rain demand protection of fresh work, so define acceptable working temperatures and weather precautions. Above all, specify curing: cementitious repairs need to be kept moist and protected for the manufacturer’s stated period, and inadequate curing is one of the most common and avoidable causes of cracking and low durability. Round it out with the finishing requirement, any protective coating to follow, and the inspection and hold points where work is checked before the next stage covers it up.
- Materials and grades named, with manufacturer data sheets and mix ratios attached
- Break-out, edge and steel-cleaning standard defined and signed off as a hold point
- Application sequence: primer or inhibitor, maximum layer thickness, inter-layer timing
- Ambient controls: working temperature limits, hot-weather and monsoon precautions
- Mandatory curing regime and duration; protective coating and final inspection hold points
Matching the method to the problem
Pulling it together, the repair strategy follows directly from the diagnosis. Localised spalling from carbonation, with sound steel and shallow loss, calls for breaking out the affected cover, cleaning and priming the steel, and reprofiling with a polymer-modified repair mortar, often finished with an anti-carbonation coating to slow recurrence. Chloride-induced corrosion is more demanding because the contaminant is dispersed in the concrete; here you remove chloride-laden material generously, clean the steel thoroughly, and frequently add a corrosion inhibitor and a low-permeability repair system, because patching alone does not remove the chlorides sitting in adjacent concrete.
Extensive section loss, congested reinforcement or column and beam reconstruction points to formwork and flowable micro-concrete rather than hand patching. Where the structure has lost capacity, repair merges into structural strengthening through jacketing, plate or fibre-wrap systems. And non-structural cracks are handled on their own terms, by injection or routing-and-sealing within the family of sealants and joint treatment rather than by patch repair. Across all of these, the underlying discipline is the same, and Space Arc’s full concrete repair and rehabilitation range, drawn from Fosroc, MC-Bauchemie, Sika and Master Builders Solutions, is matched to each scenario. When the diagnosis is honest and the system is chosen to suit it, a well-executed repair routinely outlives the defect that prompted it.
- Structural Strengthening
- Protective Coatings & Corrosion Protection
- Fosroc Construction Chemicals
- Sika
- MC-Bauchemie
Frequently asked questions
How do I know whether my concrete problem is caused by carbonation or chloride attack?
When should I use a repair mortar versus a micro-concrete?
Do I always need a separate bonding agent before applying repair mortar?
What is the most common reason concrete repairs fail?
Why does corroded steel need to be cleaned and treated, not just covered with new concrete?
How do Indian weather conditions affect concrete repair work?
Can a repaired structure be as durable as the original?
Related products & ranges
Related articles
Three more from the same corner of the catalogue.
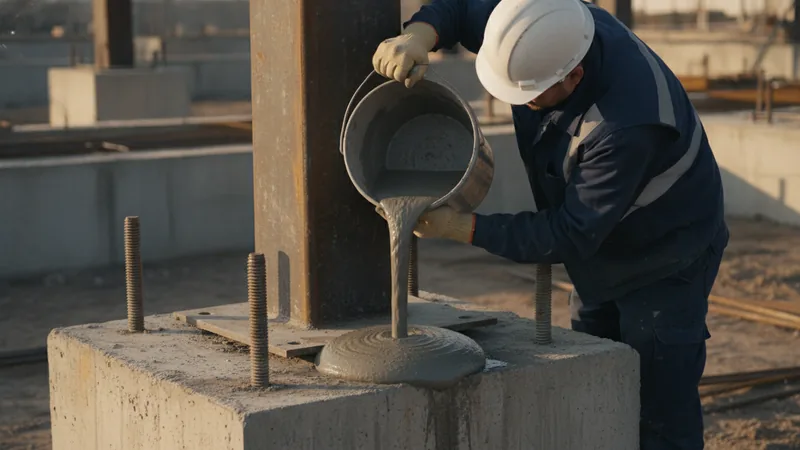
Conbextra GP1 vs GP2 vs GP3 vs EP: Which Grout Grade?
Settles cementitious GP1/GP2/GP3 versus epoxy EP first, then gives a gap-flow-strength sequence for choosing a grade. No published figures.
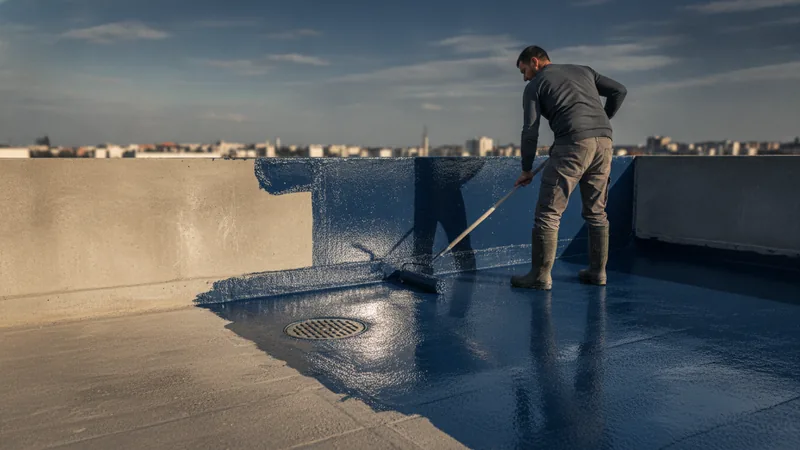
Choosing a Waterproofing System: Four Questions First
Four questions – substrate, exposure, water side, movement – then a matrix pairing seven site situations with acrylic, PU, cementitious, crystalline or bituminous.
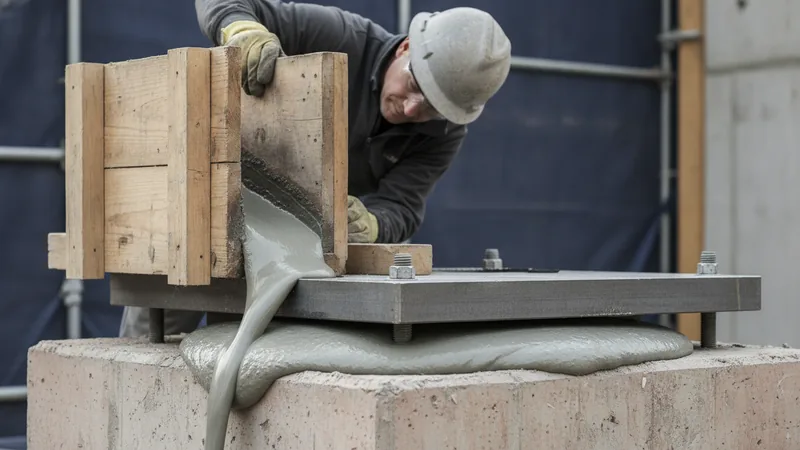
Non-Shrink Grout: Which Type, What Gap, How to Place
Six-step grouting method plus a table matching gap thickness and load type to GP1, GP2, GP3 or epoxy grout.
Related products & solutions
The systems this article is about, with the published data behind them.
Downloadable resources
Current-revision documents, sent straight over.
Specifying this on a live project?
Send the substrate, the exposure and the area. We are an authorised distributor and applicator for nine manufacturer ranges, so the recommendation follows the condition rather than the stock.