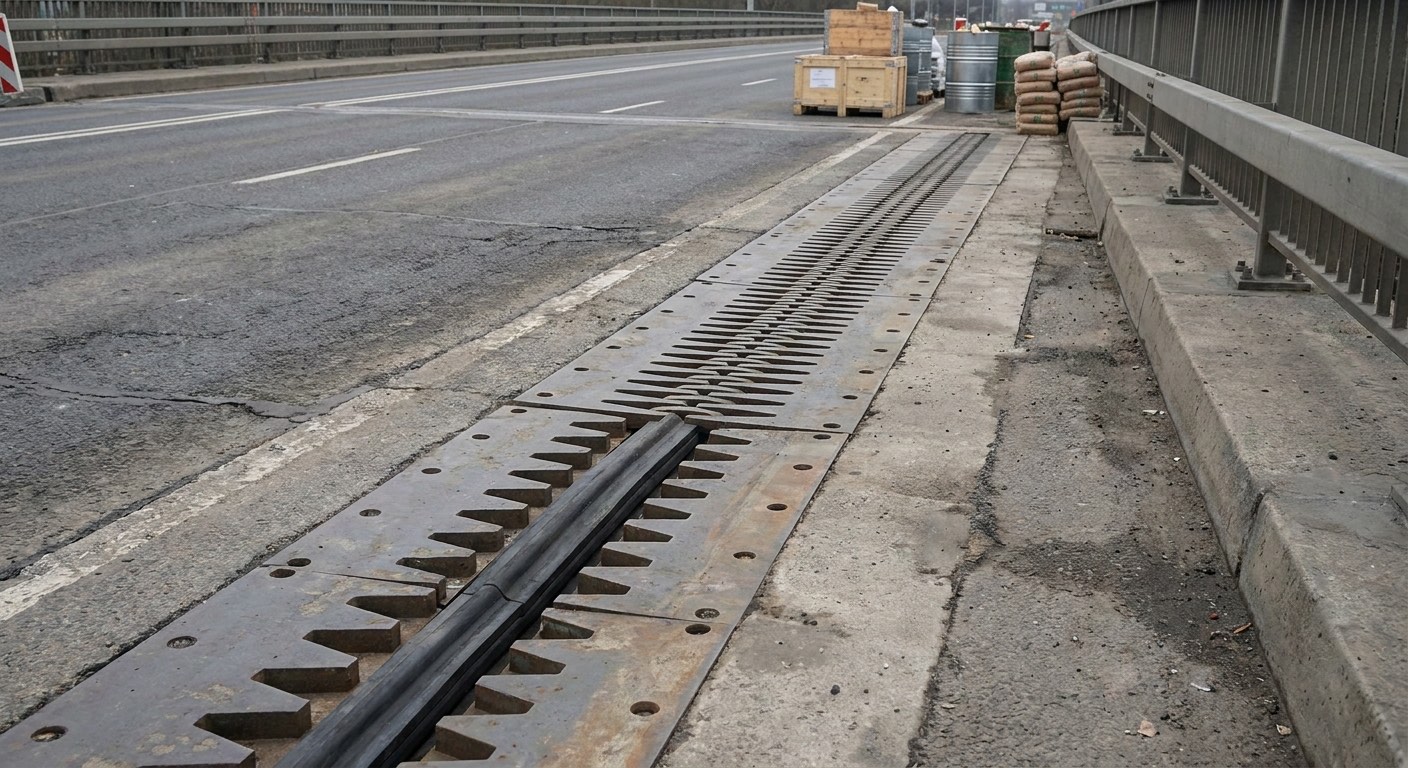
Joint Sealants and Expansion Joint Systems: The Engineer’s Guide
Written for specifiers, contractors and building owners who need a joint that survives Indian summers, monsoon and thermal cycling. It resolves which chemistry to use, how wide and deep the joint must be, and where each system fails.
What this guide settles
A joint sealant is selected by movement, not by price. First establish the joint’s movement accommodation factor (MAF): expansion joints commonly need 25 to 50 percent, control joints under 10 percent, perimeter joints 20 to 25 percent. Then match chemistry: polyurethane and MS polymer for movement and traffic, polysulphide for water-retaining and fuel exposure, neutral silicone for facades and glazing, acrylic only for dry low-movement pointing. Finally set geometry: typically 2:1 width-to-depth on vertical joints, minimum 6 mm sealant depth rising to an overriding 20 mm in trafficked joints and joints under hydrostatic pressure, with a closed-cell backer rod acting as bond breaker, or bond breaker tape rather than foamed rod wherever the joint is under hydrostatic pressure.
What kind of joint are you sealing?
Pick the condition that matches your project. The specification, the build-up and the products update as you choose.
Specify a low-modulus sealant rated 25 to 50 percent MAF over a closed-cell backer rod, sized to the calculated movement rather than to the gap you find on site.
Size the joint from calculated movement, not from what looks tidy. A 30 m concrete bay cycling 45 degrees C moves about 13.5 mm, so a 25 percent sealant needs roughly 54 mm of width. Either widen the joint or specify a 50 percent grade, which brings it to about 27 mm. Undersizing is the commonest cause of cohesive splitting.
- Compressible filler board to IS 1838 Part 1, full depth, no gaps at the arris
- Closed-cell backer rod 25 percent oversize, set to give 2:1 width-to-depth – but bond breaker tape only, never foamed rod, wherever the joint is under hydrostatic pressure
- Primer to the sealant manufacturer’s substrate schedule, within its open time
- Low-modulus PU or silicone bead, gunned and tooled concave in one pass
- Below grade, a cast-in PVC waterstop behind the surface seal
Seal it inside the concrete with a cast-in waterstop or hydrophilic strip. A surface sealant is not a waterproofing detail here.
A construction joint carries hydrostatic pressure, not movement. Gunning sealant into a chased groove on the wet face puts the bond in direct tension against the head and it will fail. The barrier must be in the section: PVC waterstop for planned joints, hydrophilic strip or injection hose where reinforcement congestion makes a waterstop impractical.
- Roughen and clean the first-pour surface; remove laitance to expose aggregate
- Cast-in PVC waterstop on the joint centreline, all joints heat-welded not taped
- Or hydrophilic strip bonded continuously with a 12 mm swellable adhesive bead, 75 mm minimum concrete cover
- Keep swellable strips dry and sheeted until the second pour goes in
- Leave injection hose ports accessible for remedial grouting
Fill it late and fill it hard. A soft elastomeric bead in a saw-cut floor joint is a wheel-damage detail waiting to happen.
Control joints move once, as the slab shrinks, then stop. Filling them at 28 days locks in movement that has not happened yet and the filler tears. Wait as long as the programme allows, ideally 90 days or past the first dry season, then fill full depth with a semi-rigid filler hard enough to support the arris under wheel loads. ACI 302.1R puts that at around Shore A 80. An elastomeric polyurethane or polysulphide at Shore A 15 to 40 deflects under the wheel and lets the arris spall, which is the failure this detail exists to prevent.
- Delay filling to 90 days or the end of the first dry season where possible
- Re-saw or rout the cut to clean vertical sides, minimum 6 mm wide
- Vacuum the slot; no backer rod, the filler goes full depth to support the arris
- Pour a two-part semi-rigid epoxy-urethane joint filler slightly proud and shave flush when cured
- Reinstate spalled arrises in epoxy repair concrete before filling
Use a low-modulus neutral-cure silicone or an MS polymer, over a bond breaker, with two-sided adhesion only.
These joints are narrow, highly visible and cycle daily with solar gain on the frame. Neutral cure avoids acetic attack on aluminium coatings and staining on stone. The biggest single error is filling the gap solid so the bead grips the back of the joint as well as both faces; three-sided adhesion removes its ability to stretch.
- Solvent-wipe both faces two-cloth method; never wipe with a single wet rag
- Backer rod or PTFE bond breaker tape at the back of the joint
- Primer where the substrate schedule calls for it, especially on natural stone
- Mask both arrises, gun the bead, tool once, strip the tape while still wet
- On stone use a non-staining low-modulus grade, not a general-purpose one
Use a fungicide-modified silicone. Acetoxy on glass and glazed ceramic; switch to neutral cure the moment stone or metal is involved.
Mould growth in a bathroom joint is rarely the sealant’s fault. It is soap film and condensation on a bead applied over a wet substrate or over old sealant. Acetoxy silicone cures fast and grips glazed surfaces, but it corrodes mild steel, copper and brass and stains marble and limestone, so read the substrate before the datasheet.
- Strip all old sealant mechanically; solvent alone leaves a release film behind
- Dry the joint fully, then degrease with isopropanol and let it flash off
- Fill baths and trays with water before sealing so the joint sits at its widest
- Fungicidal acetoxy silicone on glass and glazed tile; neutral cure on stone
- Tool concave, then keep the area dry and unused for 24 hours
Treat it as a nosing detail first and a sealant detail second. Rebuild the arrises in epoxy repair concrete, then seal with a trafficable grade.
Trafficked joints do not fail in the middle of the bead. They fail at the edges, where wheels chip the concrete arris, water gets behind the seal and the next wheel levers it out. A 50 to 75 mm epoxy nosing each side turns a fragile saw-cut edge into a load-bearing one, and it is the single biggest thing you can do for the life of the seal.
- Cut back damaged concrete 50 to 75 mm each side to a square vertical edge
- Reinstate the nosing in epoxy repair concrete and cure before opening the joint
- Insert closed-cell backer rod to set the sealant depth at half the joint width, but never less than 20 mm – trafficked joints and joints under hydrostatic pressure carry an overriding 20 mm minimum sealant depth
- Pour a trafficable two-part PU or polysulphide, slightly recessed below surface
- Keep traffic off for the full cure, not just until the surface is tack-free
Selections are indicative. Send us the substrate, exposure and area and Space Arc Engineering will confirm the specification.
Comparison table
| System | Typical MAF | Joint width range | Service temperature | Where it belongs |
|---|---|---|---|---|
| Two-part polysulphide | 20 to 25 percent | 5 to 50 mm | -20 to 60 degrees C | Water-retaining, sewage, fuel-exposed joints |
| One-part polyurethane | 25 to 50 percent | 6 to 50 mm | -30 to 80 degrees C | Expansion, perimeter and trafficked joints |
| Pouring-grade PU or polysulphide | 10 to 25 percent | 10 to 40 mm | -20 to 60 degrees C | Horizontal floor and pavement joints |
| MS polymer hybrid | 20 to 25 percent | 5 to 35 mm | -40 to 90 degrees C | Mixed substrates, damp concrete, paintable joints |
| Neutral-cure silicone | 25 to 50 percent | 6 to 40 mm | -40 to 150 degrees C | Facade, curtain wall and glazing weatherseals |
| Acrylic emulsion | 7 to 12 percent | 3 to 15 mm | 0 to 60 degrees C | Internal pointing, plus dry low-movement external pointing |
| Hot-poured rubber bitumen | 10 to 20 percent | 10 to 40 mm | -10 to 60 degrees C | Pavements, hardstandings and resealing work |
| Cast-in waterstop, PVC or hydrophilic | PVC up to 10 mm; hydrophilic 2 mm maximum | Section detail, not a bead | Ambient concrete | Below-grade and water-retaining construction joints |
What this looks like in practice
The work Space Arc Engineering supplies and applies, matched to the systems and steps described above.
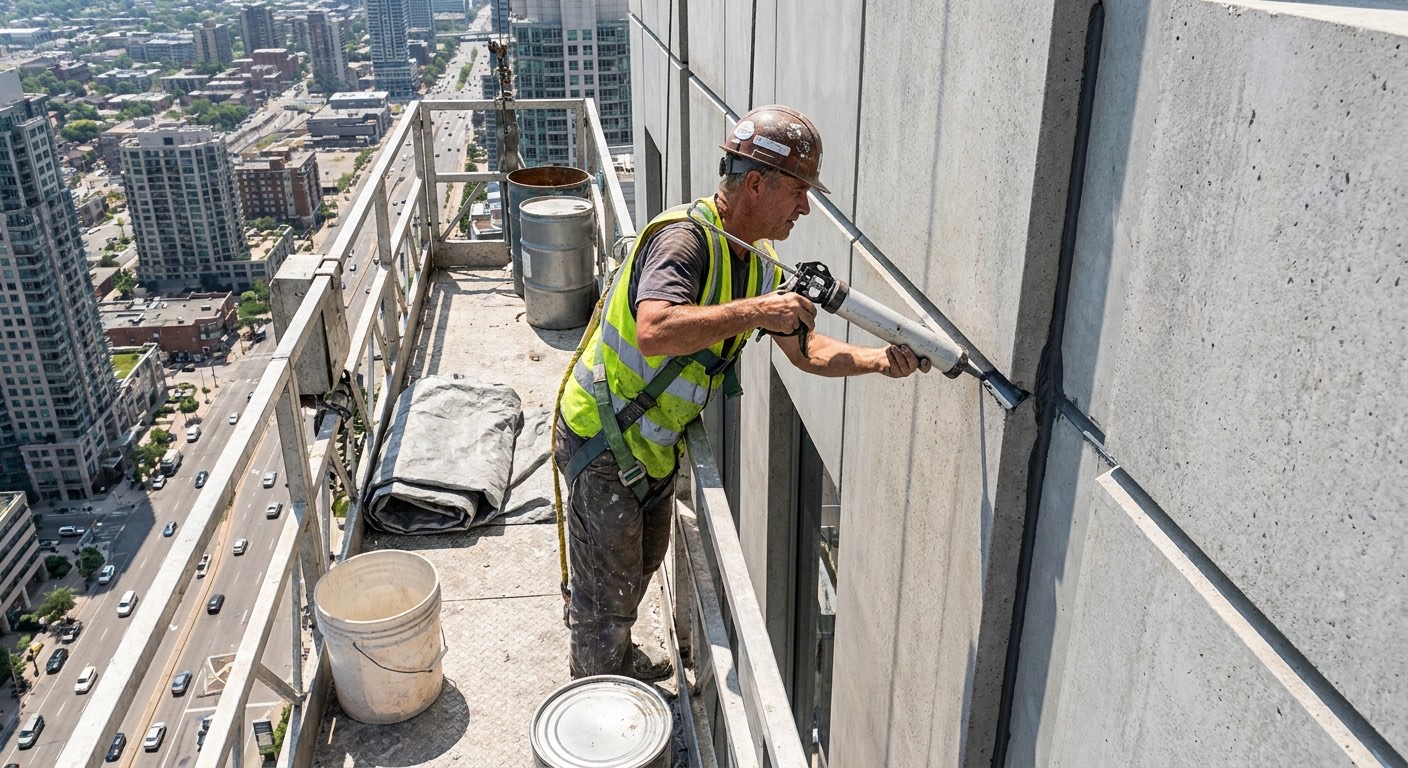
One-part polyurethane sealant
A moisture-curing polyurethane supplied ready to use in cartridge or sausage. It reacts with atmospheric humidity to form an elastomeric seal with high tear strength and abrasion resistance, typically 25 to 50 percent movement capability depending on grade. Expansion and perimeter joints where crews cannot be relied on to mix accurately, and trafficked joints where the seal takes wheel and point loads. Cure runs faster in Indian humidity than in dry climates.
Pouring-grade sealant for horizontal joints
A self-levelling two-component polyurethane or polysulphide poured cold into horizontal joints. It flows to a flat surface without tooling and cures to a rubber that protects slab arrises from wheel impact while accommodating modest movement. Warehouse and factory floor joints, cold stores, wash-down halls and pavement joints where a gunned bead would be tooled inconsistently over long runs and would not finish flush with the slab surface.

Systems compared, including where each one fails
Every system here is one Space Arc Engineering both supplies and applies, so the limitations listed are the ones we see on site rather than the ones in a brochure.
Two-part polysulphide sealant
A liquid polysulphide polymer cured on site with a manganese dioxide curing paste. It sets to a tough, chemically resistant rubber with roughly 25 percent movement capability, supplied in gun grade for vertical joints and pouring grade for horizontal work.
Water-retaining structures, sewage and effluent channels, fuel-exposed aprons and dam or canal joints. It tolerates continuous immersion and dilute acids better than most one-part chemistries and has a long Indian track record.
Two-component mixing is unforgiving. Under-mixed material stays tacky for weeks, over-mixed material skins before it reaches the joint, and pot life collapses above 35 degrees C. It also chalks and darkens under strong UV.
Typical spec. Gun or pouring grade, 25 percent MAF to BS 6093 for butt joints, joint width 5 to 50 mm at an optimum 2:1 width-to-depth ratio, subject to overriding minimum sealant depths of 5 mm on non-porous surfaces, 10 mm on porous surfaces and 20 mm in trafficked joints or joints under hydrostatic pressure, primed to the manufacturer’s substrate schedule, sets in about 18 hours at 25 degrees C, full cure one week at 25 degrees C rising to four weeks at 5 degrees C.
One-part polyurethane sealant
A moisture-curing polyurethane supplied ready to use in cartridge or sausage. It reacts with atmospheric humidity to form an elastomeric seal with high tear strength and abrasion resistance, typically 25 to 50 percent movement capability depending on grade.
Expansion and perimeter joints where crews cannot be relied on to mix accurately, and trafficked joints where the seal takes wheel and point loads. Cure runs faster in Indian humidity than in dry climates.
Cure is diffusion-limited, so deep or over-wide beads skin over and stay soft underneath. Most grades chalk under direct UV, discolour behind light stone, and are rated for intermittent rather than permanent immersion.
Typical spec. Gun grade non-sag, 25 to 50 percent MAF, joint width 6 to 50 mm, bead depth 6 to 15 mm and never more than half the width, closed-cell backer rod to ASTM C1330 Type C, tack-free 1 to 3 hours, cure roughly 3 to 5 mm per day.
Pouring-grade sealant for horizontal joints
A self-levelling two-component polyurethane or polysulphide poured cold into horizontal joints. It flows to a flat surface without tooling and cures to a rubber that protects slab arrises from wheel impact while accommodating modest movement.
Warehouse and factory floor joints, cold stores, wash-down halls and pavement joints where a gunned bead would be tooled inconsistently over long runs and would not finish flush with the slab surface.
It cannot be used on falls or ramps without damming, and it needs the joint bone dry. Movement capability is lower than a gunned facade sealant, so it is the wrong answer for a wide structural expansion gap.
Typical spec. Pouring grade, 10 to 25 percent MAF depending on chemistry, joint width 10 to 40 mm, depth 10 to 25 mm, but not less than 20 mm in trafficked joints or joints under hydrostatic pressure, closed-cell backer rod set 2 to 5 mm below target sealant depth, light traffic 24 to 72 hours after pouring.
MS polymer (silyl-modified polyether)
A silane-terminated polyether that cures on atmospheric moisture like a polyurethane but weathers like a silicone. It is isocyanate-free and solvent-free, bonds to damp substrates, is overpaintable, and is normally supplied as a low-modulus one-part sealant.
Mixed-substrate joints, damp concrete during monsoon, joints that must be painted, and interior acoustic and perimeter seals. Priming is often unnecessary, which removes the step most commonly skipped on Indian sites.
Movement capability is usually 20 to 25 percent, below a high-performance PU or silicone. It costs more per litre, and overpainting can reduce the movement the finished joint will actually tolerate.
Typical spec. One-part low-modulus non-sag, 25 percent MAF, joint width 5 to 35 mm, depth 6 to 12 mm at 2:1 width-to-depth subject to a 10 mm minimum on porous substrates, primerless on most common substrates, skin 1 to 2 hours at 20 degrees C and faster in Indian heat, cure roughly 2 mm per day.
Silicone, neutral and acetoxy cure
A polysiloxane rubber cured by atmospheric moisture. Neutral oxime or alkoxy cure releases no acid and is safe on concrete, stone and metal. Acetoxy cure releases acetic acid, sets faster and grips glass and glazed ceramic.
Facade, curtain wall and glazing weatherseals. Silicone holds colour and elasticity through decades of UV and offers the widest movement range of any common chemistry, typically 25 to 50 percent depending on class.
It cannot be painted, it is not abrasion resistant so it is wrong for trafficked joints, and some low-modulus grades bleed plasticiser that stains porous stone. Acetoxy grades corrode mild steel, copper, brass and lead.
Typical spec. Low-modulus neutral cure for structural substrates, 25 to 50 percent MAF, joint width 6 to 40 mm, depth 6 to 12 mm, three-sided adhesion prevented by bond breaker tape or backer rod, skin 10 to 30 minutes, cure 2 to 3 mm per day.
Acrylic emulsion sealant
A water-based acrylic dispersion that seals by drying rather than chemical cure. It shrinks as the water leaves, remains paintable, cleans off with water while wet, and delivers roughly 7 to 12 percent movement capability.
Internal pointing, plasterboard and cornice joints, and gaps around skirtings and frames that a decorator will paint over. It is low odour and workable in occupied buildings, hospitals and hotels.
It is not a movement-joint material. In a working expansion joint it splits within a season. It softens under standing water and has poor fuel and abrasion resistance, so it must never go into immersed, below-grade or trafficked joints. External use is limited to low-movement pointing in masonry, cladding and window perimeters that stay dry.
Typical spec. One-part gun grade, 7 to 12 percent MAF, joint width 3 to 15 mm, depth 5 to 10 mm, no primer on dry sound substrates, overpaintable after 24 to 48 hours, not for immersion, below-grade or trafficked joints, and externally only in low-movement dry pointing.
Hot-poured rubber-bitumen sealant
A rubber-toughened bitumen melted in a jacketed boiler and poured hot into horizontal joints. It sets by cooling rather than chemical cure, bonds to both concrete and asphalt, and behaves as a thermoplastic throughout its service life.
Long runs of pavement, hardstanding and loading-bay joints where cartridge sealants are uneconomic, and resealing work where the joint has to carry traffic again within an hour of pouring.
It softens and tracks at Indian summer surface temperatures, picks up grit, and turns brittle in north Indian winters. Overheating in the boiler destroys the rubber modification permanently and no site test will catch it.
Typical spec. Hot-poured grade to IS 1834, pour temperature per manufacturer typically 160 to 190 degrees C with a jacketed boiler, joint width 10 to 40 mm, depth 15 to 25 mm over compressible filler or backer, trafficable on cooling.
Cast-in waterstops, PVC and hydrophilic
Not sealants but joint-embedded barriers. Extruded PVC waterstops are cast across the joint and work by tortuous path and valve action. Hydrophilic strips and swellable profiles are fixed to the first pour and expand on wetting to close the interface.
Below-grade and water-retaining joints where a surface sealant would sit under permanent hydrostatic head. A correctly cast waterstop keeps working when the internal face seal is inaccessible for maintenance.
PVC waterstops fail at site-made joints and wherever concrete is not compacted around the bulb. Swellable strips fail where they are left standing in water before the second pour, where they sit off centreline, or where cover falls below 75 to 80 mm. They are also not movement products: a hydrophilic strip should not be asked to take more than about 2 mm of movement.
Typical spec. PVC centre-bulb or external profile sized to joint movement, hydrostatic head to around 10 bar, all joints heat-welded rather than taped. Hydrophilic strip typically 5 x 20 mm section, bonded continuously to the first pour with a swellable adhesive bead of at least 12 mm diameter or cast into a formed groove, with 75 mm minimum concrete cover for a 5 x 20 mm strip and 80 mm for a 10 x 20 mm strip.
The correct sequence, in order
Skipping a step here is what turns a specified system into a warranty claim. Space Arc supervises these hold points on the projects it applies.
- 1
Establish what the joint actually does
Confirm from drawings whether the joint is an expansion, construction, control or isolation joint, then calculate its movement from bay length, temperature range, shrinkage and any structural rotation. This one step decides chemistry, width and whether a sealant is the right answer at all.
Hold point: Movement calculation and joint schedule signed off by the designer before any material is ordered. - 2
Prepare and profile the joint
Remove old sealant, laitance, curing compound and filler board debris mechanically. Cut back spalled or feathered arrises to sound square edges and reinstate them in epoxy repair concrete where the joint will be trafficked. Vacuum the joint rather than blowing it out with oiled compressed air.
Hold point: Both joint faces sound, square, dry and dust-free before backer rod is placed. - 3
Set the depth with backer rod or tape
Insert closed-cell backer rod around 25 percent oversize, rolled into place rather than stretched, to the depth that gives the target sealant thickness. Where the joint is too shallow for rod, or wherever it is under hydrostatic pressure, use bond breaker tape on the base instead of foamed rod. Never leave the sealant free to bond to the joint bottom.
Hold point: Rod or tape depth checked with a gauge at intervals along the run, not judged by eye. - 4
Prime to the substrate schedule
Apply the primer specified for that particular substrate as a thin even film, using a brush rather than a rag. Respect both the minimum flash-off time and the maximum open time. Re-prime any section that has stood beyond the open time before sealing it.
Hold point: Primer applied and sealant placed within the same shift and inside the stated open time. - 5
Mix, apply and tool in one pass
Mix two-part material as full units for the stated time and place it within a pot life corrected for actual site temperature. Gun from the bottom of the joint forward so the bead pushes air out ahead of it, then tool concave once with a light dry tool.
Hold point: First three to five metres of each run opened up and inspected for full contact against both faces before the crew continues. - 6
Protect the joint during cure
Keep the joint free of water, traffic and construction dust for the full cure, not just until it is tack-free. Elastomeric sealants cure at roughly two to five millimetres per day, so a deep or wide bead may need a week before it can safely be loaded.
Hold point: Physical barriers and signage in place, with no trade access to trafficked joints until full cure is confirmed. - 7
Inspect, record and set a maintenance interval
Walk each run and probe the bead for adhesion at intervals. Record product, batch, primer, joint width and date against the joint reference. Tell the owner that sealant is a maintenance item with a finite life and agree a realistic reinspection interval.
Hold point: Joint register issued with the operation and maintenance manual, including the agreed reinspection date.
Why this fails on Indian sites
Most failures are not product failures. These are the ones Space Arc Engineering’s applicators get called in to put right, usually years after the original job.
Three-sided adhesion in the bead
- What you see
- A clean split straight down the centre of the sealant bead, often within the first summer, with both joint faces still firmly bonded.
- Root cause
- No backer rod or bond breaker was used, so the sealant bonded to the back of the joint as well as both faces. A bead gripped on three sides cannot stretch, so all the movement concentrates at the centre and tears it.
- How to prevent it
- Closed-cell backer rod to ASTM C1330 Type C in every movement joint, or PTFE bond breaker tape where the joint is too shallow for rod and wherever the joint is under hydrostatic pressure. Confirm the rod or tape is in place and at the right depth before the gun comes out.
Joint sized by eye, not by movement
- What you see
- Sealant splits or peels within one or two thermal cycles despite correct product selection and visibly good workmanship.
- Root cause
- Joint width was taken from the shuttering or the tile module rather than calculated from thermal, shrinkage and structural movement, so the installed bead is asked to move well beyond its rated movement accommodation factor.
- How to prevent it
- Calculate movement per bay length and temperature range, divide by the sealant’s MAF, and design width from that number. Where the joint cannot be widened, move up a movement class rather than accepting the risk quietly.
Priming skipped or gone stale
- What you see
- Sealant peels cleanly off one substrate face in a continuous ribbon, leaving the joint arris bare and the bead intact on the opposite face.
- Root cause
- Primer was omitted on porous concrete, or it was applied and then left overnight so the sealant went on outside the primer’s open time. Both produce a chemically dead interface that looks perfectly acceptable at handover.
- How to prevent it
- Follow the manufacturer’s substrate-by-substrate priming schedule, prime and seal in the same shift, and record primer batch and time on the joint log. Where crews will not comply, specify a genuinely primerless MS grade instead.
Sealing a damp or dusty joint in monsoon
- What you see
- Blisters, pinholes or patchy adhesion appear within days, and bond strength is poor across the whole run rather than at isolated points.
- Root cause
- Joint faces were saw-cut and gunned the same day with saw slurry still in the cut, or the concrete carried surface moisture that a moisture-cure sealant foamed against and a solvent primer could not wet properly.
- How to prevent it
- Vacuum and wire-brush the cut, then wipe with a two-cloth solvent method. Check the substrate for surface moisture. Use damp-tolerant MS or PU grades where monsoon working is unavoidable, and sheet completed runs.
Two-part sealant mixed by eye at 40 degrees C
- What you see
- Parts of the run stay permanently tacky while other parts skin before they can be tooled, sometimes within the same joint on the same day.
- Root cause
- The curing agent was split between part-batches or hand-scooped rather than fully decanted, and pot life at Indian afternoon temperatures is a fraction of the datasheet figure quoted at 20 degrees C.
- How to prevent it
- Mix full units only, never part packs. Use a slow-speed paddle for the stated time, work early morning or evening in summer, and size each batch to what the crew can place within a temperature-corrected pot life.
Swellable waterstop wetted before the second pour
- What you see
- A basement or tank construction joint leaks despite a hydrophilic strip having been correctly installed and signed off on the pour checklist.
- Root cause
- The strip sat in standing water and swelled while the joint was still open, so it was already expanded – and easily displaced or torn by the pour – when the concrete went in. Delayed-swell strips do not lose swelling capacity to wet and dry cycling, but they must not be immersed before the second pour. The strip also fails where cover falls below 75 to 80 mm, because the expanding strip spalls the concrete instead of sealing against it.
- How to prevent it
- Keep the strip sheeted and out of standing water until the second pour. A 10 x 20 mm grade will tolerate a couple of days of damp site conditions where a 5 x 20 mm one will not. Check cover to the strip against the reinforcement drawing. Where the programme cannot guarantee dry conditions, use a PVC waterstop or injection hose instead.
The standards this work is specified against
Quote these in your tender documents. They are what a third-party inspector will check against, and Space Arc Engineering can supply the batch and compliance paperwork to match.
The Indian base document for classifying joints and setting spacing, width and detailing in masonry and concrete buildings, written explicitly for tropical temperature and humidity swings.
Defines what an Indian two-part polysulphide sealant is tested against. This is the clause to cite when specifying polysulphide for water-retaining and immersed joints.
Governs the filler board sitting behind the sealant in a true expansion joint. A non-compliant filler compresses permanently and the joint quietly loses the gap it was designed to keep.
The classification most datasheets quote: Type S or M, Grade P or NS, Class 12.5 through 100/50, and Use letters covering traffic, immersion and glazing exposure.
The design reference for joint geometry, width-to-depth ratio, sealant backing and primer use. It is the origin of the 2:1 rule quoted across the industry.
Classifies sealants as Type F for facades or G for glazing, Class 25, 20, 12.5 or 7.5, and LM or HM. This is how European-origin products state movement capability.
Products we recommend and stock
Every product below is one Space Arc Engineering stocks as an authorised distributor. Fosroc is strongest here at the civil end. The Thioflex polysulphide range and the Supercast waterstop family are the reference specification for water-retaining and below-grade joints in India, Nitoseal 280 covers the semi-rigid floor-joint filler that saw-cut control joints actually need, and Expocrete gives a matching nosing repair for trafficked joints. On high-movement facade and glazing work, Fosroc’s low-modulus silicones and Nitoseal MS60 compete rather than dominate, and a specifier chasing a 50 percent-plus facade seal should compare against the dedicated glazing ranges we also stock.
Distributor and applicator, not just a supplier
Joint work fails at the interface between what was specified and what happened on site. Because Space Arc both supplies the material and puts crews on the joint, those two halves are not separated by a supply chain. We size backer rod against the actual sawn width, hold primer open times, and reject a joint whose arris is not sound rather than gunning over it. When a system is discontinued mid-project we can substitute across eight stocked brands on movement class, not on price.
- Authorised distributor for Fosroc, Sika, Dr. Fixit, MC-Bauchemie, UltraTech, Master Builders Solutions, STP and D-Seal
- In-house application crews across Delhi NCR, with pan-India project supply
- Specification support before you tender, and site supervision during execution
- Genuine, batch-traceable material direct from authorised channels
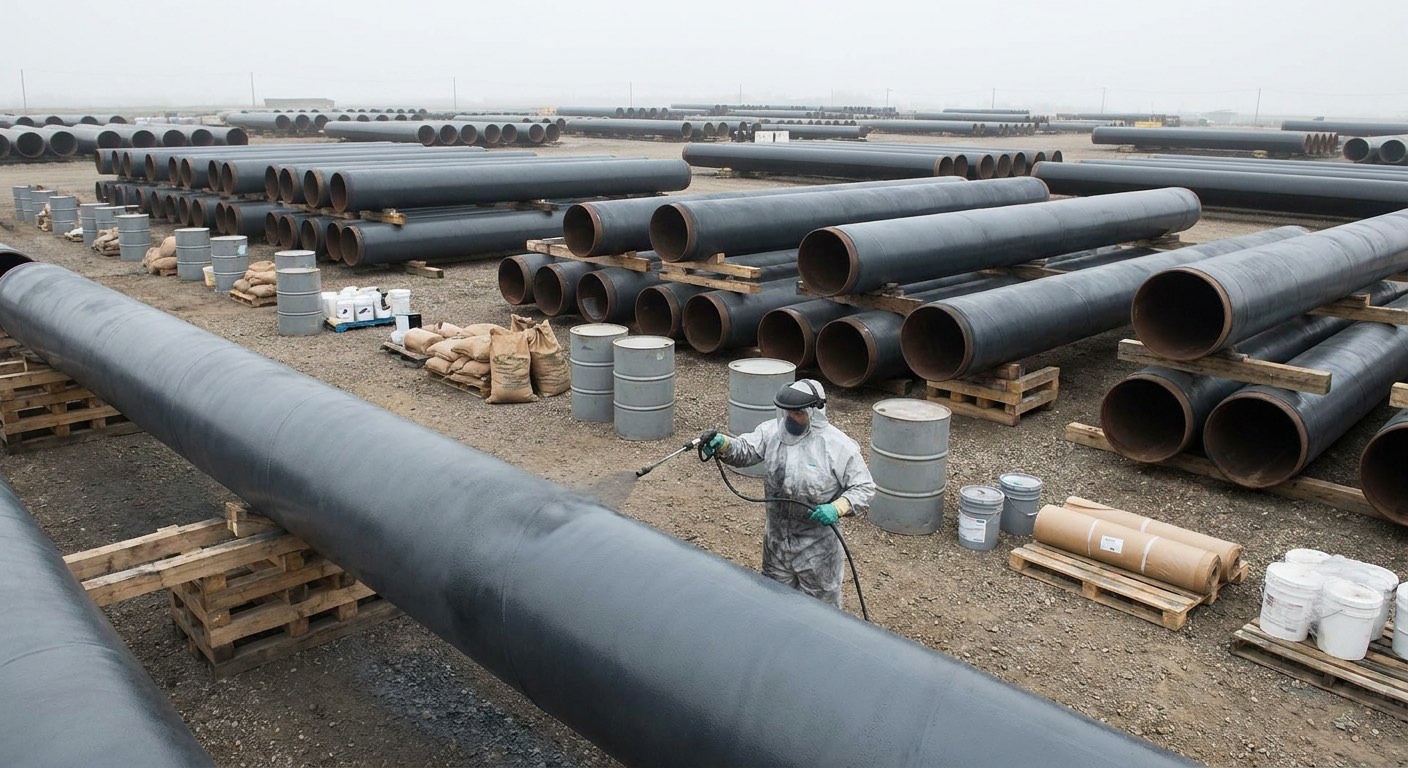
Sealants & joints – frequently asked questions
What is the difference between an expansion joint and a construction joint?
How wide should an expansion joint be?
What size backer rod should I use?
Can joint sealant be applied during the monsoon?
Why does my expansion joint sealant keep cracking?
Polysulphide or polyurethane for water tanks and STP structures?
Do I need a primer for joint sealant?
What should go into a saw-cut control joint in an industrial floor?
How long does joint sealant last in Indian conditions?
Related guides
Expansion Joint Types & How to Select Them
A practical, cross-brand guide to expansion joint types in buildings and structures – how movement, traffic, exposure…
Waterproofing systems
The joint is where most waterproofing fails.
Concrete repair
Cracks that move need sealing, not filling.
Not sure which specification your project needs?
Send us the substrate, the exposure and the area. Space Arc Engineering will come back with a specification, a bill of quantities and the datasheets to support it.