Complete Guide to Non-Shrink Grouts: Types and Selection
Six-step grouting method plus a table matching gap thickness and load type to GP1, GP2, GP3 or epoxy grout.
Key takeaways
- Conbextra GP1 gives over 30 MPa at 28 days to 50mm gaps; GP2 over 50 MPa to 100mm; GP3 over 20 MPa at 3 hours
- Pre-wet the foundation at least 6 hours, then pour from one side only until grout reaches the vent
- Epoxy grouts exceed 70 MPa and resist creep under vibrating machinery; cementitious grout needs seven days wet curing
The short version
A comprehensive technical guide to cementitious and epoxy non-shrink grouts — how they work, when to use each type, and best practices for successful grouting of column base plates, crane rails, and machinery foundations.
What is a Non-Shrink Grout?
Non-shrink grout is a cementitious or resin-based grouting material specifically engineered to compensate for the natural shrinkage that occurs as ordinary cement mixes dry and hydrate. When you grout a column base plate with ordinary cement mortar, the mortar shrinks as it cures — pulling away from the underside of the base plate and creating a gap through which load cannot be transferred. Under a heavily loaded column, this gap causes point loading at the plate edges rather than uniform stress distribution, potentially causing cracking in both the plate and the concrete foundation below.
Non-shrink grouts solve this problem by incorporating expansion mechanisms — typically gas-generating chemicals, expansive cements, or shrinkage-compensating admixtures — that cause a small controlled expansion in the plastic state that exactly offsets subsequent drying shrinkage. The result is a grout that maintains full contact with both the base plate above and the concrete foundation below throughout its service life.
Types of Non-Shrink Grouts
1. Cementitious Non-Shrink Grouts
The most widely used type for general structural grouting. These are pre-blended, single-component, Portland cement-based grouts with controlled expansion additives. They are mixed with water only and can be placed at different consistencies — fluid (self-levelling), flowable, or trowelable — by varying the water addition. Key examples in the Fosroc range include:
- Fosroc Conbextra GP1 — General purpose grade, >30 MPa at 28 days, gaps up to 50mm
- Fosroc Conbextra GP2 — High-strength precision grade, >50 MPa at 28 days, gaps up to 100mm
- Fosroc Conbextra GP3 — Rapid-hardening grade, >20 MPa at 3 hours, for fast-track applications
2. Epoxy Grouts
Three-component systems (epoxy resin, hardener, and quartz aggregate filler) offering very high compressive strengths (>70 MPa), excellent chemical resistance, and very low creep under sustained load. Used for precision grouting of vibrating machinery such as compressors, generators, and milling machines where long-term dimensional stability under dynamic load is critical. Epoxy grouts are significantly more expensive than cementitious alternatives and require experienced application — mixing temperature, component proportions, and pot life must all be carefully managed.
Step-by-Step Application Guide
Step 1: Surface Preparation
The concrete foundation surface must be clean, sound, and free from oil, dust, laitance, and any previous grout. Use mechanical scabbling, grit blasting, or high-pressure water jetting to expose clean aggregate and create a mechanically keyed surface. A surface roughness equivalent to CSP 3–4 (Concrete Surface Profile) is ideal. Remove all loose material and blow out with compressed air before grouting.
Step 2: Pre-Wetting
Thoroughly saturate the concrete substrate with clean water for a minimum of 6 hours before grouting (overnight is ideal for large base plates). Remove standing water immediately before grouting but leave the surface in a saturated-surface-dry (SSD) condition. Dry concrete will absorb water from the fresh grout, affecting workability and potentially causing plastic shrinkage. A damp substrate improves adhesion and prevents premature stiffening.
Step 3: Formwork
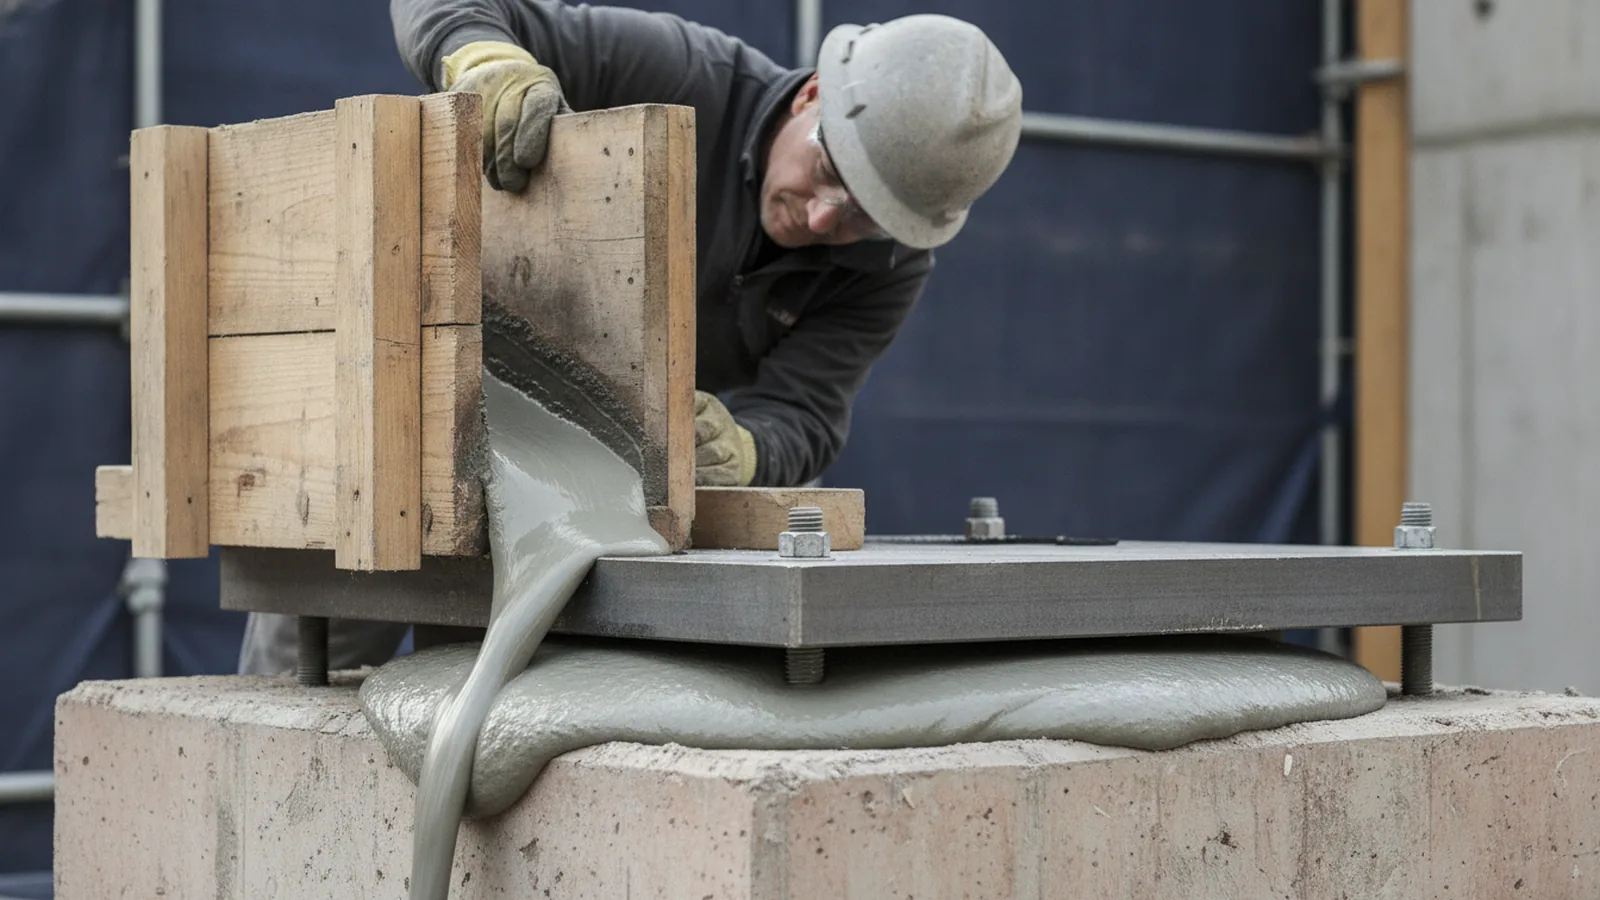
Install grout shuttering on three sides of the base plate, leaving the fourth side open for pouring and the opposite side as a vent. Ensure shuttering is sealed at the base and around anchor bolt sleeves to prevent grout leakage. For fluid grout, a head (hopper or funnel) at the pour side helps maintain continuous flow pressure under the plate. Seal any gaps in the formwork with foam tape or rapid-setting repair mortar.
Step 4: Mixing
Add approximately 80% of the required clean water to a mixing drum, then add the full bag of grout powder. Mix for 3–5 minutes with a slow-speed mechanical mixer (paddle type, not drum mixer). Add remaining water gradually to achieve the required consistency. Never exceed the maximum water addition — over-watering reduces strength, increases shrinkage, and causes bleeding. Discard any grout that has begun to stiffen before placement.
Step 5: Placing
Pour grout continuously from one side only — pour from the same point, allowing grout to flow across the full width and out the vent side. Do not pour from multiple points simultaneously as this traps air under the plate. Maintain continuous flow until grout appears at the vent. For large base plates, use a pump to push grout from one side rather than gravity pouring. Maintain a positive head (excess grout height above the plate level) until initial set to compensate for settlement.
Step 6: Curing
After initial set, cure the exposed grout surface with wet hessian or curing compound for a minimum of 7 days. Protect from direct sun and hot, dry, or windy conditions which cause rapid evaporation and surface cracking. In hot weather (above 35°C ambient), add ice to the mixing water to extend pot life and reduce evaporation. Do not apply load until the required minimum strength is achieved and confirmed.
Common Grouting Mistakes to Avoid
- Over-watering the mix: The single most common cause of grout failure. Follow the manufacturer’s water addition exactly — add a small amount extra if needed but never exceed the specified maximum
- Dry substrate: Always pre-wet the concrete foundation or the grout will lose water to the substrate, stiffen prematurely, and develop lower strength than design
- Pouring from multiple points: Always pour from one side only to avoid trapping air pockets under the base plate
- Grouting in extreme temperatures: Above 35°C or below 5°C, additional precautions are needed. Use chilled water in hot weather; use warm water and insulate in cold weather
- Loading too early: Wait until the grout achieves the specified minimum strength before applying structural load — check manufacturer data for minimum loading times
How to Select the Right Grout Grade
A summary of the sections above. The datasheet for the product you finally choose governs every figure here.
| Application | Gap Thickness | Loading | Recommended Grout |
|---|---|---|---|
| Standard building column bases | 25–50mm | Normal structural | Conbextra GP1 |
| Heavily loaded industrial columns, crane rails | 25–100mm | High structural / impact | Conbextra GP2 |
| Fast-track construction, early loading needed | 25–50mm | Standard structural | Conbextra GP3 |
| Vibrating machinery, compressors, generators | 25–75mm | Dynamic / vibratory | Epoxy grout |
| Precast element joints | 10–30mm | Standard structural | Conbextra GP1 or GP2 |
Related articles
Three more from the same corner of the catalogue.
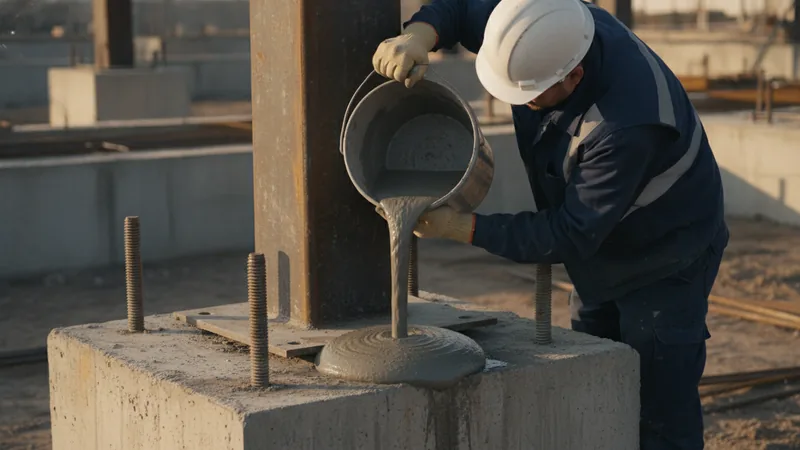
Conbextra GP1 vs GP2 vs GP3 vs EP: Which Grout Grade?
Settles cementitious GP1/GP2/GP3 versus epoxy EP first, then gives a gap-flow-strength sequence for choosing a grade. No published figures.
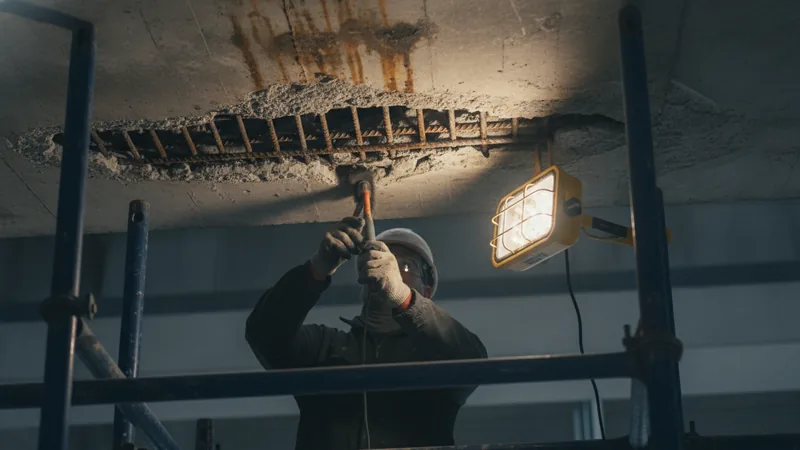
Concrete Repair: Diagnose First, Then Pick the System
How to tell carbonation from chloride attack, when to switch from repair mortar to micro-concrete, and the five surface-preparation steps.

Choosing a Construction Chemical: A 3-Step Framework
A three-step method – category, brand and grade, site conditions – with named product picks across waterproofing, repair, grouting, admixtures and flooring.
Related products & solutions
The systems this article is about, with the published data behind them.
Downloadable resources
Current-revision documents, sent straight over.
Specifying this on a live project?
Send the substrate, the exposure and the area. We are an authorised distributor and applicator for nine manufacturer ranges, so the recommendation follows the condition rather than the stock.